
Blush is more than a splash of color. Proper placement considers the underlying bone structure, which affects how light and shadow shape the face. Incorrect application can disrupt proportions and make features appear uneven.
Even a subtle misplacement can draw attention away from the eyes or other facial highlights. Makeup artists often study face shapes to map blush placement precisely, which is why knowing techniques, like the 2 finger rule, improves accuracy and consistency.
The Origin of the 2 Finger Rule
Understanding where the 2 finger rule comes from helps clarify why it works. It merges historical makeup practices with modern needs for precision. This rule is both practical and rooted in visual aesthetics.
Historical Makeup Practices That Inspired It
Blush has been used for centuries, from ancient Egypt to 18th-century Europe. Artists often measured placement by sight or touch to create symmetry and highlight cheekbones.
Early makeup manuals described using hands as guides, since rulers or tools weren’t common. Using fingers helped maintain proportion naturally, showing how tactile methods influenced modern techniques like the 2 finger rule.
How It Became Popular Among Makeup Artists
The 2 finger rule gained traction in the mid-20th century, as professional makeup evolved for photography and film. Artists needed a quick, reliable way to achieve consistent blush placement under bright lights.
Magazines and beauty schools popularized it further, presenting it as a foolproof method. Even today, makeup educators teach it because it balances precision with ease, allowing both beginners and pros to follow the same standard.
Step-by-Step Guide: How to Apply the 2 Finger Rule
Applying blush accurately is easier when broken into clear steps. The 2 finger rule provides a practical guide that works with most face shapes and blush formulas. Following these steps ensures consistent and precise placement.
Preparing Your Skin Before Blush
Clean, moisturized skin allows blush to sit evenly. Applying a light foundation or primer creates a smooth canvas and prevents uneven patches.
Without proper prep, powder blush may cling to dry spots, while cream formulas can streak. Even professional makeup artists start with basic skin care, showing that preparation is key to achieving a natural flush.
Measuring the Distance Using Two Fingers
Place two fingers vertically beside the nose. Start blush just outside this line, along the cheekbone. This helps locate the “sweet spot” for a natural glow.
Using fingers as a guide ensures symmetry on both sides of the face. The tactile approach is especially helpful under camera lights or when learning how much color to apply without overdoing it.
>> Where do you apply blush on a mature face? Timeless Tips
Blending Tips for a Seamless Look
After placement, blend outward toward the temple in soft, circular motions. This avoids harsh lines and creates a gradient that mimics natural blood flow.
For powder blush, use a fluffy brush; for creams, a damp sponge or fingers can work. Layer gradually rather than applying all at once—this helps maintain control and achieves a more polished result.
The Science Behind the 2 Finger Rule
The 2 finger rule isn’t just a beauty hack—it’s rooted in facial anatomy. Understanding bone structure and natural contours helps explain why this method works consistently for most people.
Facial Anatomy and Blush Placement
Cheekbones provide the natural highlight area for blush. Placing color along the apple of the cheeks and slightly above emphasizes structure without exaggerating it.
Muscle and fat distribution also affect how blush appears. The two-finger distance roughly aligns with the widest part of the cheek, creating balance between the nose and the outer face. This method relies on measurable anatomy rather than guesswork.
How the Rule Enhances Natural Features
By following the 2 finger guideline, blush mimics a subtle, natural flush that our skin produces during activity or emotion. It enhances cheekbones and softens the transition to surrounding facial areas.
This rule works for both powders and creams because it respects the face’s curvature. Artists often combine it with contouring and highlighting to subtly lift the face while maintaining harmony in proportions.
Choosing the Right Blush Formula with the 2 Finger Rule
Not all blushes behave the same. Choosing the right formula helps the 2 finger rule work effectively, ensuring color placement follows the cheekbone naturally.
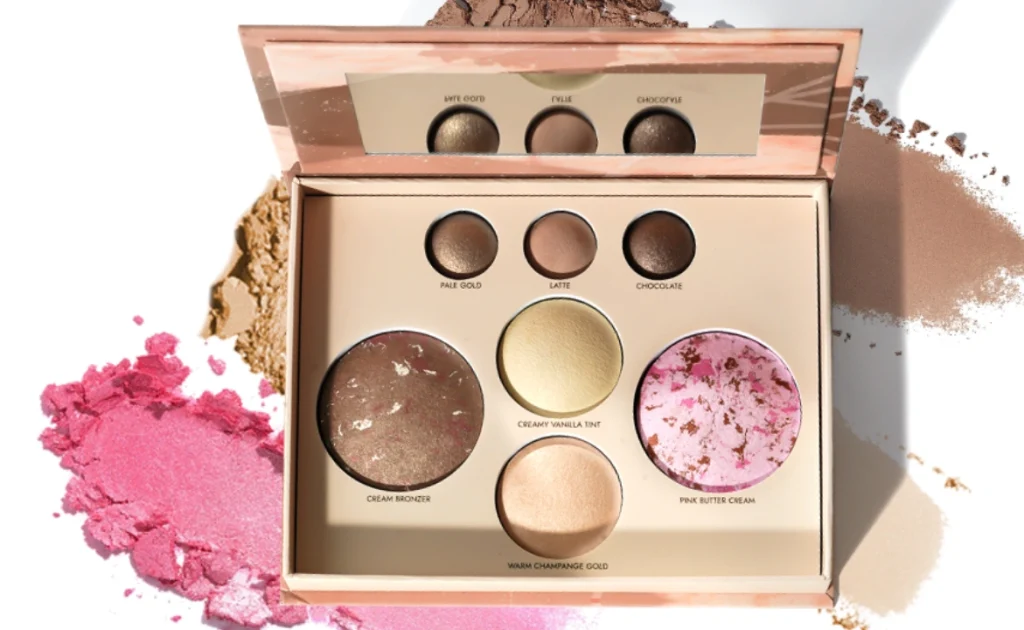
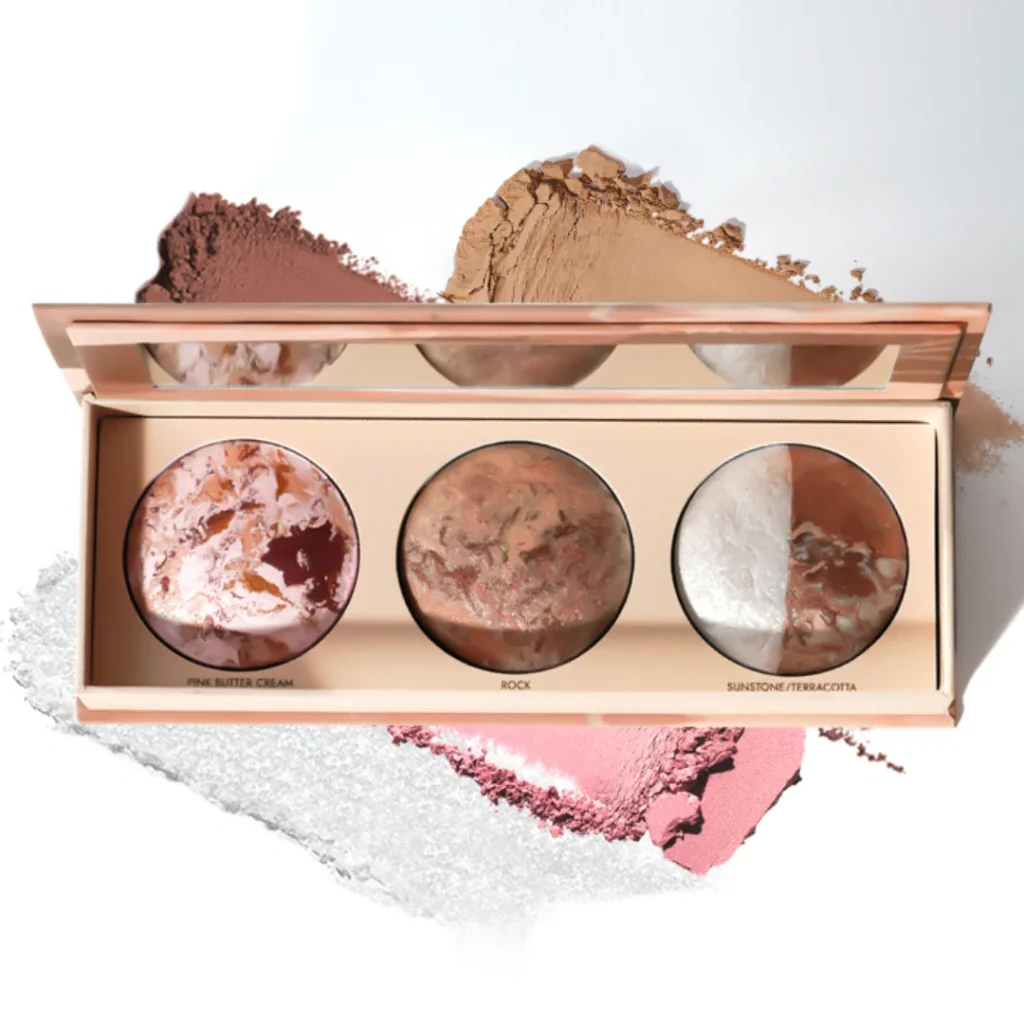
Powder, Cream, and Gel Blush Differences
Powder blush is versatile and blends easily over foundation. It is ideal for oily or combination skin. Cream blush provides a dewier finish and works well on dry skin, but requires careful blending to avoid streaks.
Gel blushes are lightweight and buildable. They often mimic a natural flush and can be layered. Understanding these differences ensures the 2 finger rule produces a precise and flattering effect for each formula.
>> What is the correct order to put on makeup for beginners?
How Texture Impacts Application
Texture affects how blush spreads and absorbs. Powder brushes create a soft gradient, while cream or gel products respond better to fingers or sponges for controlled placement.
The 2 finger rule guides where to start the application, but the texture determines how the color diffuses. Professionals often adjust their tool and pressure based on formula to achieve a natural, seamless look.

Adapting the 2 Finger Rule for Different Face Shapes
Face shape affects how blush is perceived. The 2 finger rule provides a baseline, but slight adjustments can enhance natural contours and maintain facial balance.
Round Faces
For round faces, start blush slightly higher on the cheekbone. Blend outward toward the temple to create the illusion of length, helping the face appear more sculpted.
Avoid applying too much color on the apples alone, as it can emphasize roundness. The 2 finger guide helps locate a starting point without overextending the blush.
Oval Faces
Oval faces are naturally balanced, so the standard 2 finger placement works well. Apply blush along the apple and sweep gently toward the temple for a subtle lift.
This shape allows flexibility in intensity and placement, but maintaining symmetry with the 2 finger distance ensures a polished look.
Heart-Shaped Faces
Heart-shaped faces benefit from a lower placement near the cheekbone center, blending slightly toward the outer edge of the jaw. This balances a narrower chin with a wider forehead.
Using the 2 finger rule, start just outside the nose line and adjust downward for harmony. Proper blending softens the transition between forehead and chin.
Square Faces
For square faces, focus blush slightly above the apples and blend in circular motions toward the temples. This softens strong jawlines and angles.
The 2 finger distance helps maintain proportion, ensuring color enhances rather than exaggerates the angular features. Blending is key to achieve a natural, flattering finish.
Common Mistakes to Avoid with the 2 Finger Rule
Even a simple technique like the 2 finger rule can go wrong if applied carelessly. Understanding common pitfalls helps maintain accuracy and a natural-looking flush.
Over-Applying or Misplacing Blush
Applying too much color at once can overwhelm the face, making the cheeks appear heavy or unnatural. Starting light and building gradually prevents this.
Misplacing blush outside the recommended area disrupts facial balance. Using the two-finger guideline ensures the color sits on the intended part of the cheekbone for a subtle lift.
Ignoring Skin Tone Considerations
Not all blush shades show the same way on every skin tone. Darker tones may need deeper pigments, while lighter tones respond better to soft, pastel shades.
Failing to consider this can make the blush appear muddy or washed out. Adjusting hue and intensity according to skin tone works best with the 2 finger placement for natural results.

Using the Wrong Brush or Tool
The wrong brush or tool can create streaks or uneven coverage. Powder blush usually needs a fluffy brush, while cream or gel formulas blend better with fingers or a sponge.
Tool choice interacts with pressure and motion. Even when following the 2 finger rule, using the right implement ensures a smooth, controlled application that complements the natural contour of the face.
Tips to Make the 2 Finger Rule Work for Every Skin Tone
The 2 finger rule works for all skin tones, but subtle adjustments improve visibility and natural blending. Understanding how color interacts with skin is key to consistent results.
Fair Skin Tips
Light pinks, peaches, or soft corals work best on fair skin. Start with a small amount of product and build gradually to avoid a harsh appearance.
Blend outward gently to maintain a natural gradient. Using fingers or a soft brush helps control pigment intensity and keeps the blush aligned with the 2 finger guideline.
Medium Skin Tips
Medium skin tones handle warmer shades like rose, apricot, or mauve. Layering helps achieve a subtle flush that complements natural undertones.
Follow the 2 finger placement for consistency. Blending toward the temple softens edges and integrates the blush with the rest of the face naturally.
Deep Skin Tips
Deep skin tones benefit from vibrant shades such as berry, brick, or rich tangerine. These colors show clearly without looking ashy or muted.
Apply lightly at first, then build. The 2 finger rule ensures the blush enhances the cheekbone rather than floating awkwardly, creating a harmonious, radiant effect.

Enhancing Your Look Beyond the 2 Finger Rule
The 2 finger rule sets a strong foundation, but subtle additions can refine and elevate the overall makeup look. Combining blush with other techniques balances and defines facial features.
Combining with Highlighter and Contour
Applying highlighter above the cheekbone and contour below enhances depth and structure. Blush sits naturally in between, creating a seamless transition.
The 2 finger rule helps locate the optimal starting point, while contouring and highlighting emphasize the bone structure. Using complementary placement ensures harmony rather than overpowering the cheeks.
Adjusting for Daytime vs. Evening Makeup
For daytime, keep blush light and natural, following the 2 finger distance closely. Soft application avoids harsh contrasts under natural light.
Evening looks can handle more intensity. Layering slightly beyond the two-finger area adds drama under artificial lighting. Proper blending remains essential to maintain a polished, professional appearance.
Conclusion
Mastering the 2 finger rule for blush combines precision with simplicity. By following facial anatomy, adjusting for face shape, skin tone, and formula, anyone can achieve a balanced, natural-looking flush that enhances features effortlessly.
>> How to Start Using Foundation: A Complete Beginner’s Guide